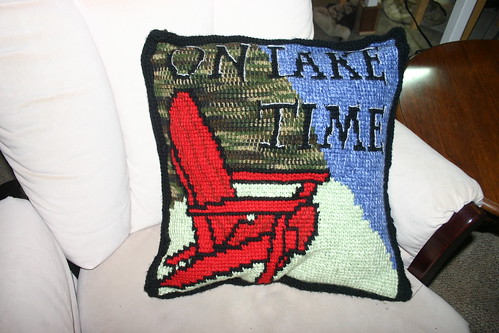
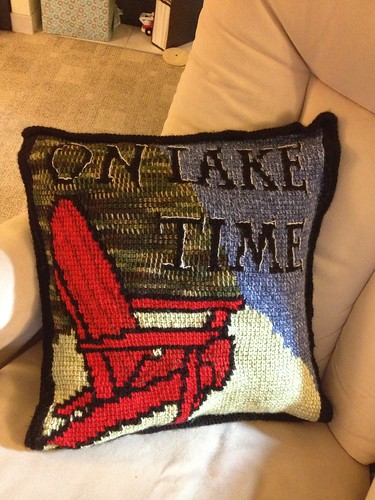
For Christmas I made my dad this great pillow for the family lake house in New Hampshire. We make fun of him that he does not "fritter" any time, and that vacation time is no different than work time. He can sit still for approximately 90 seconds, and then has to fix something. I found a few cute "On Lake Time" signs on Etsy, but they were a little too expensive and I couldn't find one the size I wanted. So I decided to change up and make something more functional (and suggestive that he sit down and take a break every once in a while).
Design:


Materials:
Size H Tunisian Crochet Hook
Fabric for pillow form
18" pillow form
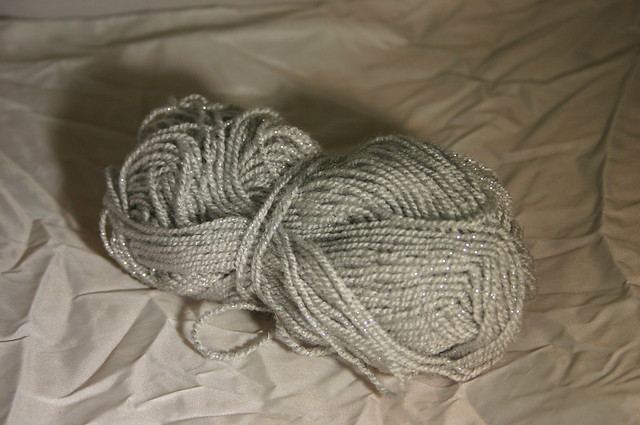
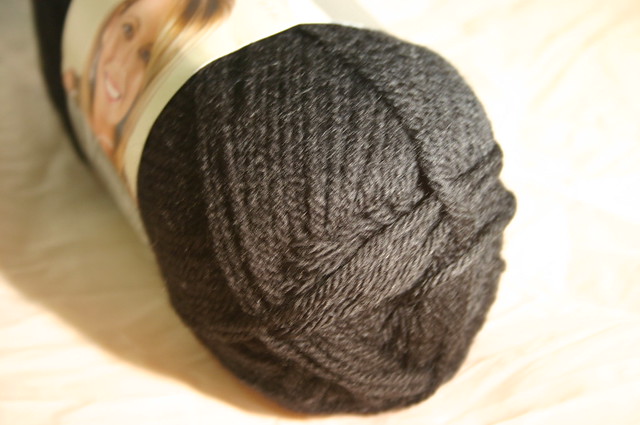
Yarn:
Vanna's Choice Demin Mist

Vanna's Choice Seaspray Mist

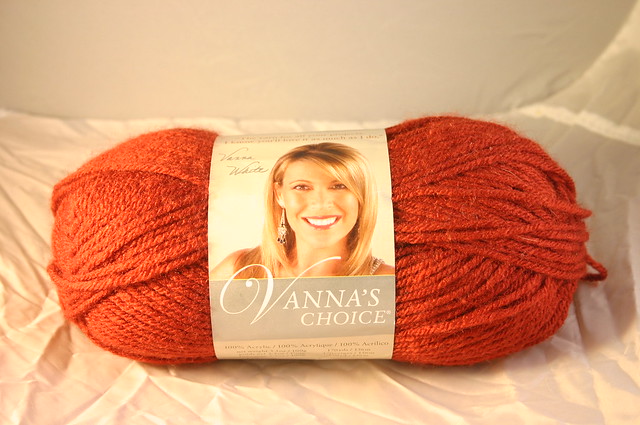
Vanna's Choice Brick
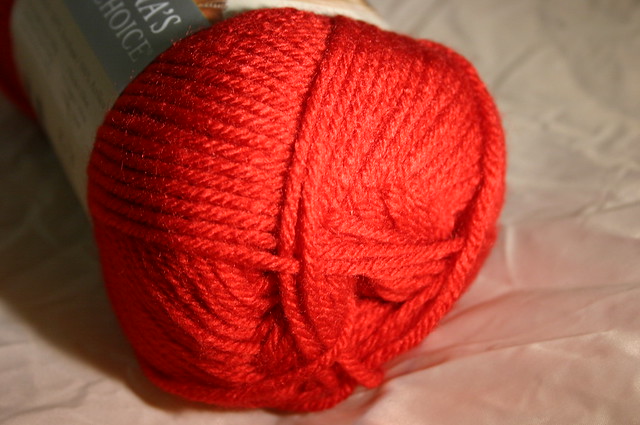
Vanna's Choice Scarlet
Vanna's Glamour Platinum
Read Heart Camouflage

Vanna's Choice Black
Pattern:
Follow grid and include 3 stitches of black as a border. When finished, weave in ends.
The piece may curl a little, but we will fix that when sewing on the backing.
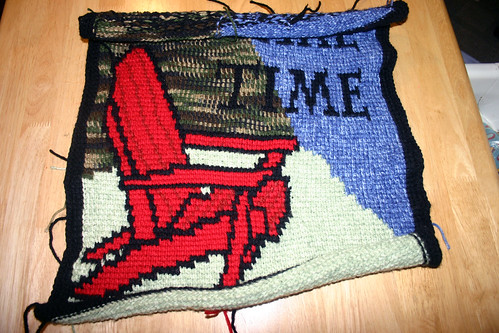
Embroider the letters with the Platinum yarn.
Pillow Cover: http://sewing.about.com/od/freeprojects/ss/envelopepillow.htm
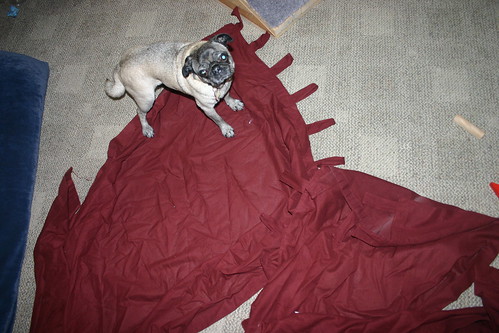
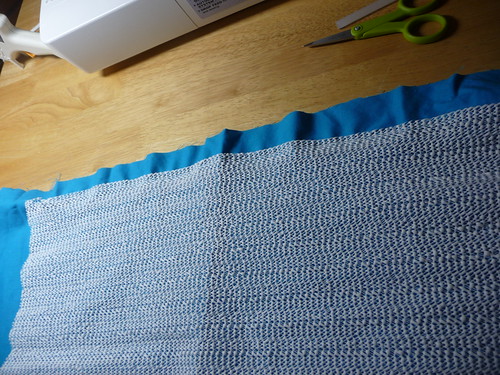
Cut fabric. Watch out for puppies. I used some old curtains that got paint on them. They match the cottage :)
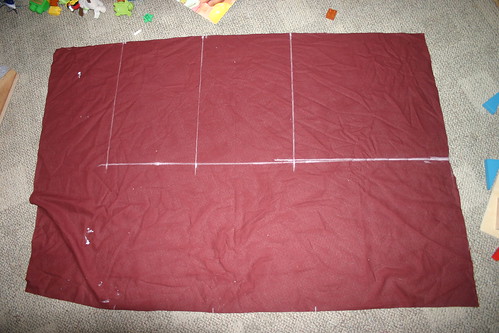

Sew around edges so they don't fray.
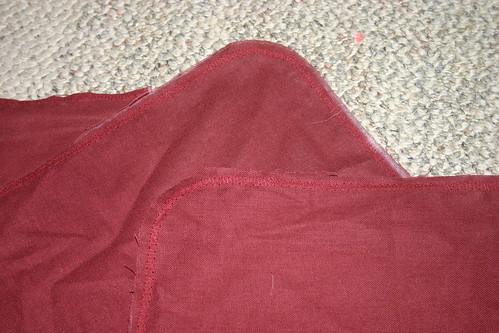
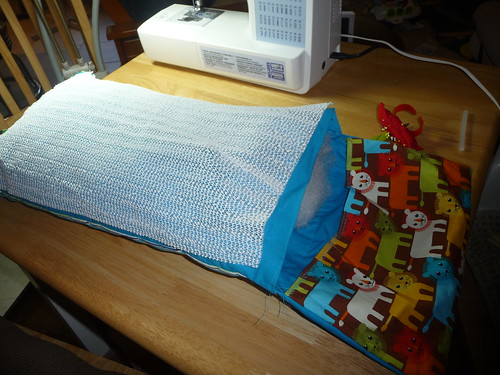
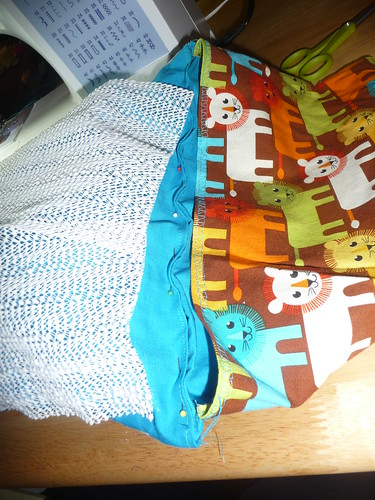
Sew pieces together.
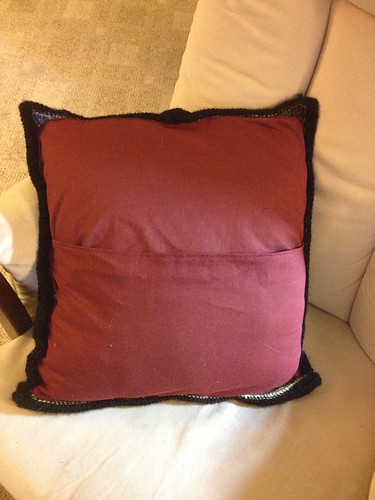
Sew pillow cover to Knitted piece, leaving black boarder sticking out.

Insert Pillow form into cover.
Put head on pillow and relax.
Sunday, June 30, 2013
On Lake Time

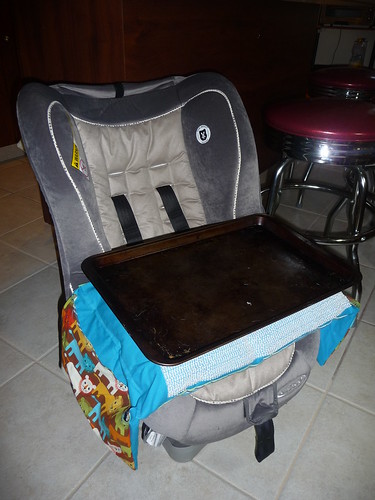
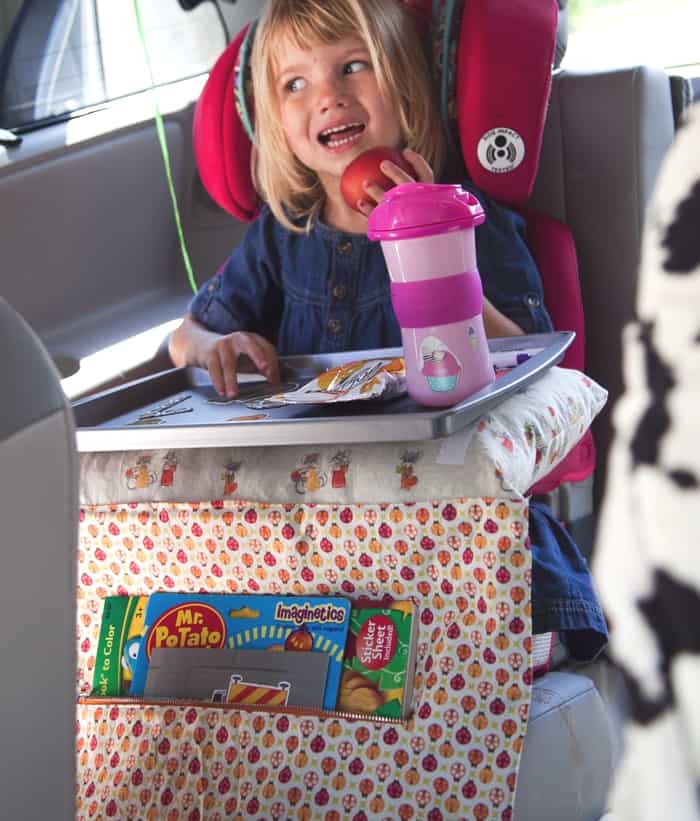
Travel Carseat Desk
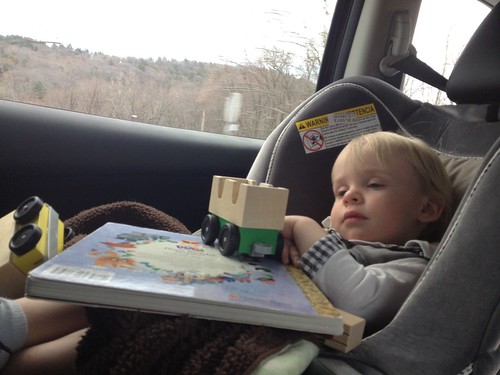
Next week we hit the road for our Summer vacation! Up to MA for 4th of July, then to NH to the lake house, a quick jaunt up to Maine with just me and the hubby for a few days w/out the kiddo, back to NH, back to MA, and then back home.
Problem: This will involve a lot of time in the car for our city kid, which usually involves a lot of crying, several boxes of Goldfish Crackers, and anywhere between a little bit to a lot of vomit.

Solution: Lots of activities and a DYI travel desk to keep those activities in order. We've tried balancing a book on his lap before, with varying results.
Inspiration: I mean, Pinterest of course. But more specifically ...
DIY Travel Lap Tray by Pretty Prudent
DYI Magnetic Travel Tray by Craft, Interrupted

Lap Desk by MerMag
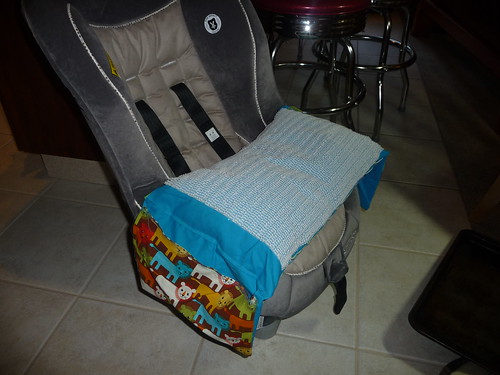
Dilemmas: His carseat has big arm-rest/cup-holders, so this has to sit on top of those. Our "bad" cookie sheet isn't long enough, and I don't want to destroy our "good" cookie sheet (the above ideas involve putting velcro strips on the cookie sheet itself or drilling into it).
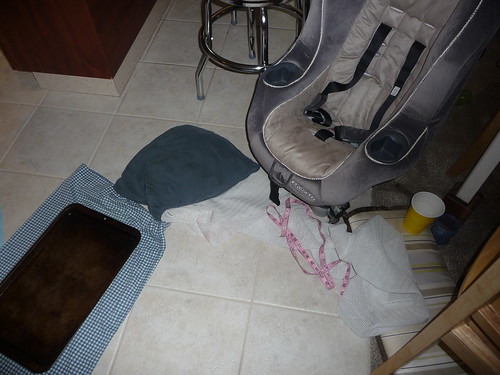
Plan: Attach the cookie sheet to the lap pillow in a non-permanent way by 1) putting non-slip drawer liner material on the pillow top, so the cookie sheet won't slide so much, and 2) attaching a tie to the pillow that can tread through the (already there) hole in the cookie sheet (I have no idea why there is a hole there. May want to drill a matching hole on the other side, which won't affect the cookie functioning of the cookie sheet.)
Materials:
- 1 metal cookie sheet (mine is 17"x11" on the bottom, 19"x12" to the top with the handles)
- Non-Slip Drawer liner material, cut to fit bottom of cookie sheet (in this case, 17"x11")
- Fabric for Lap pillow. I'm making mine a little wider than the cookie sheet, to fit the width of the carseat (21"x12", two pieces)
- Fabric for pockets, to hang over the sides of the carseat (2 pieces 12"x7", 2 pieces 12"x8")
- Stuffing for pillow
- Ribbon for ties
- Hot glue or Fabric Glue
- Sewing stuff (needle/machine, thread, scissors, measuring tape)
Steps:
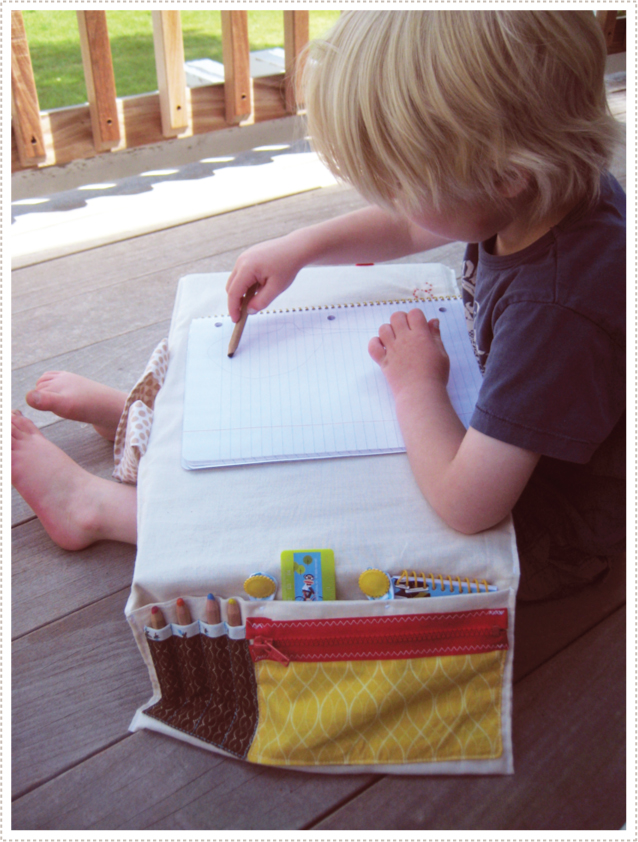
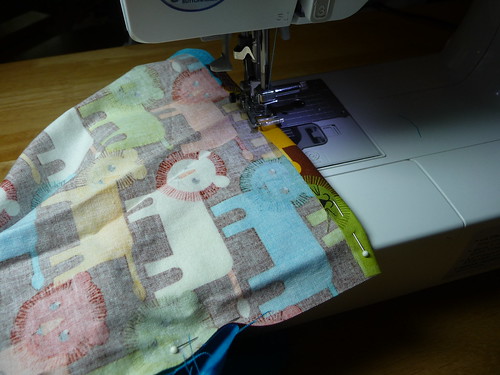
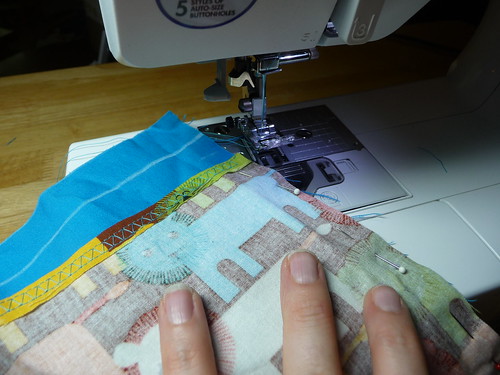
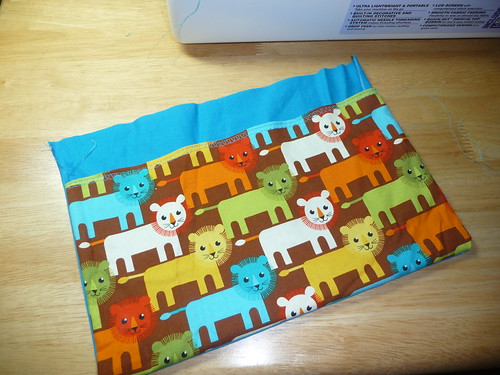
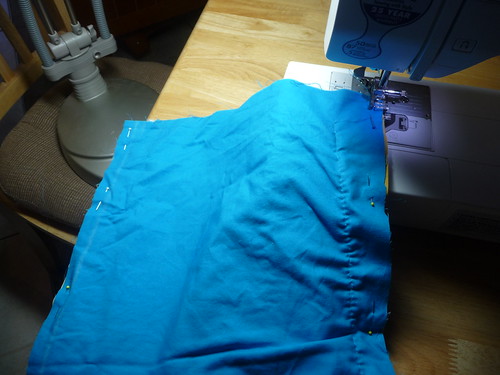
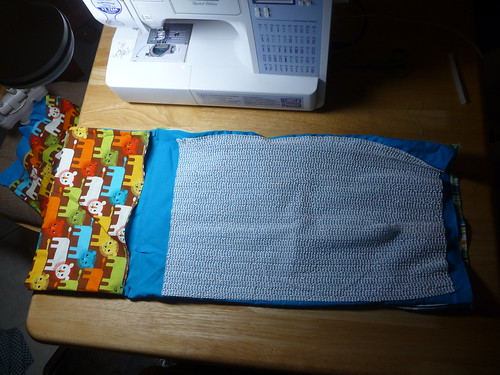
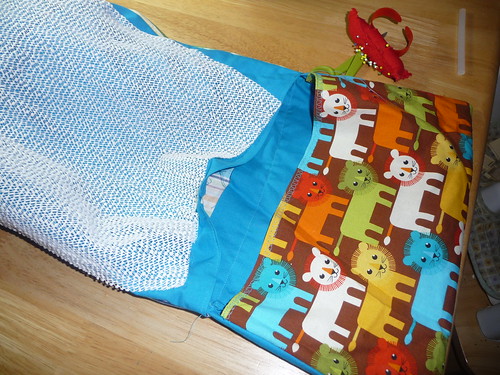
1) Measure and cut fabric. I had some leftover from R's Baby Doll Carrier, so I used the Blue for the top of the pillow (where the cookie sheet will sit) and the backs of the pockets, the Striped for the bottom of the pillow, and the Lions for the front of the pockets. Cut non-slip drawer liner.

2) Pockets. On front panels, fold down top edge about 1/4" and sew. Pin front and back panels together with wrong sides showing, and sew right, bottom, and left edges (leaving top edge open). Turn right-side out. Repeat for second pocket.

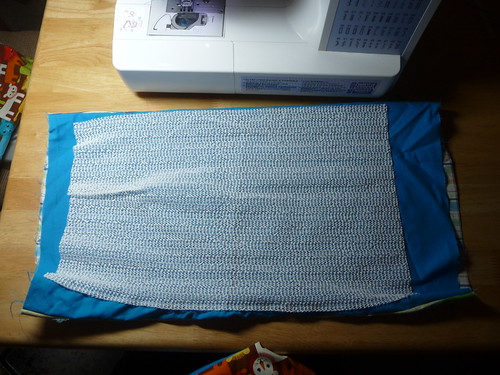
3) Pillow. Pin top and bottom panels together with wrong sides showing, and sew top and bottom edges (leaving side edges open). On side openings, fold down edges about 1/4" on both the top and bottom pieces (make sure the top and bottom pieces line up when you "close" the pillow) and sew around on each side. Turn right-side out.

4) Attach pockets. With the Top of the pillow facing up, insert the top 1/2" of one pocket in a side opening, facing up. Pin the pillow opening closed, securing the pocket. Sew that side edge closed.
On the other side, insert the top 1/2" of the other pocket (facing up) in the other side opening. Pin it to the Top panel only, and sew across to attach the pocket but NOT to close the side opening (because we still have to fill the pillow).

5) Attach any ribbons, straps, or strings before filling pillow. (not shown)
6) Glue non-slip drawer liner to the Top of the pillow. (you will notice from the pictures that I did this step earlier. In fact, I tried sewing the liner onto to the fabric. Bad idea, if you're a beginner like me, because it stretched and my fabric puckered and it didn't line up right. And it was a pain in the butt to maneuver around because it was so grippy. Just glue it toward the end. I used hot glue).
7) Fill pillow with stuffing until desired fullness. Sew final side opening closed.
8) Pack up the toys and hit the road! (hopefully this will work and I'll a great in-action photo to post here next week!)